Installation
- Log into your JIRA server instance as an admin.
- Click the admin dropdown and choose Add-ons.The Manage add-ons screen loads.
- Click Find new add-ons from the left-hand side of the page.
- Locate Workflow Essential for JIRA via search.Results include add-on versions compatible with your JIRA instance.
- Click Install to download and install your add-on.
- You're all set!Click Close in the Installed and ready to go dialog.
If you edit your workflows now you will find the new validators and post-functions from Workflow Essential plugin.
Configuring Workflows
Here's how you can add a workflow element to a transition:
First go to the Workflows section of the Administration and klick Edit on the workflow you want to enhance with new features.

If you prefer to work with the graphical view, then select one transition and in the box on the right klick on Validators or Post Functions, depending on what you want to add.
![]()
If you are working with the text view instead, simply click on the name of the transition. The creation of an issue is also a transition.
![]()
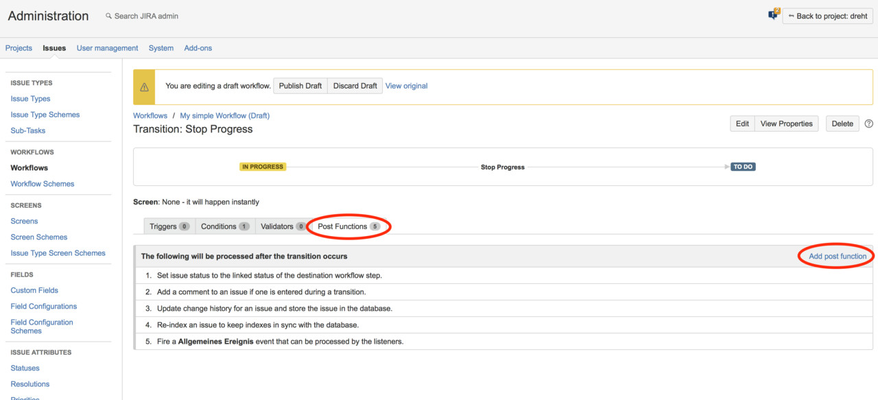
Now you see a list of currently active Post Functions (or Validators). To add one, klick the link on the top right corner.
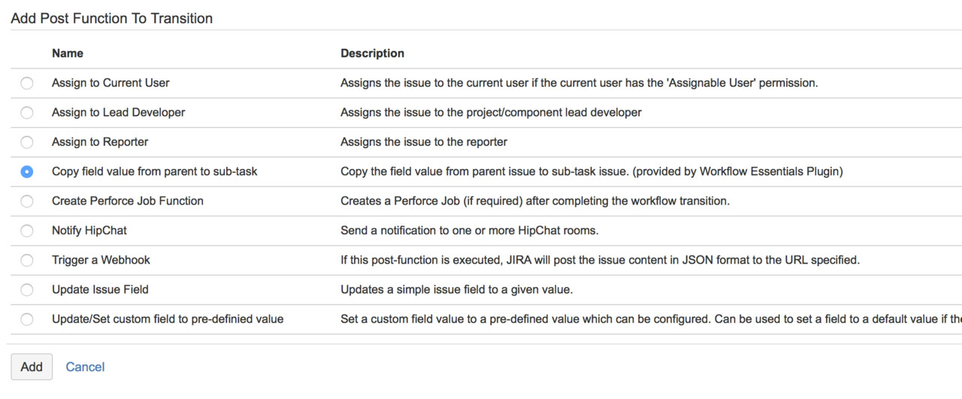
Select the Post Function you want to add and configure it.
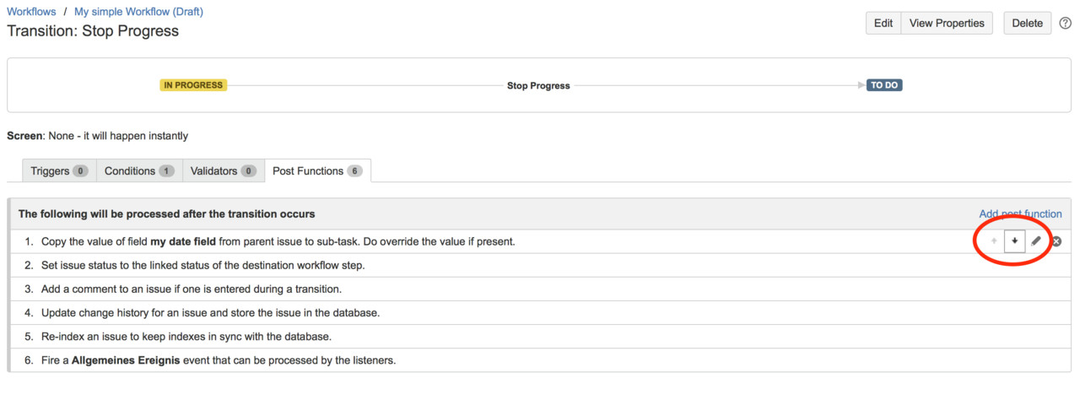
You can also change the order of the Post Functions. This may be required sometimes, for details see here.
When you are done, don't forget to Publish Draft of your workflow to make it available to your users.

Configuring Default Values for Create Screens
Please see section Default Values for "Create Issue / Sub-Task" screen